Fix feedback and stop shocks with these great tips

Preventing feedback and mic shock

[This article was written by Alex Andrews of Ten Kettles Inc. It originally appeared HERE. Check out the  new music theory app from Ten Kettles — “Waay: Music theory that matters.” Click here to learn about its video lessons, interactive exercises, progress-tracking tools, and more.]

Fixing feedback

You get up on stage, pick up a microphone, start to sing and then—SCREEEEEECH. Feedback. It’s very common, but thankfully very avoidable. Why does feedback happen at a live show or rehearsal? Most of the time, feedback happens when a mic points at a speaker.

When you stand with your back to a speaker, what you’re actually doing is pointing your microphone directly into the speaker. And that means trouble. The simple solution? Move the speaker or move the singer. Sure, you can also tweak the singer’s EQ (e.g., turning down the frequency band that matches the feedback) or invest in a feedback eliminator device, but if you want to keep your sound quality high and your budget low, start with speaker (and singer!) placement.

Stop shocks

Alright, so you’ve eliminated the feedback—nice work. You then strap on your electric guitar, lean toward the mic to start singing, and then—!!*&!*&!*&!!. Your face gets a big electric shock from the microphone. If you’ve ever been repeatedly electrocuted in the face during a live show, you know how unpleasant this is.

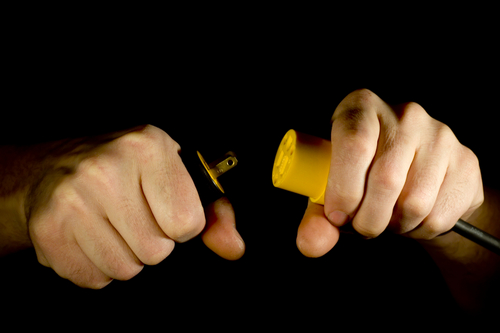
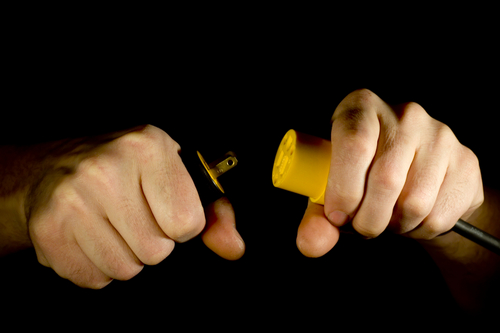
When mic shocks happen, look at the soundboard and speakers that your mic and instrument are plugged into. Follow the power cables to the outlets and make sure all plugs have three prongs. If anything is plugged into a power bar, check the power bar’s plug as well. If you only see a two prong plug (or the third prong has been snapped off), there’s your problem: one of the signals isn’t grounded. Whenever you touch your face to the mic and your hand to the guitar strings, you are completing a circuit and the result is pretty rough.

The solution? Ditch any two-prong cords and replace them with grounded (three prong) cables at every outlet. Not an option? Use a pop screen on the mic as a quick fix (a coat-hanger and tights can do the trick in a pinch).

Once you’ve mastered the art of fixing feedback and stopping shocks, it’s time to focus on getting some great sound. Start with sound checking your rehearsals, and then learn to make your shows shine with some EQ tips.

—-

Recording rock drums: pro tips for tuning, mic’ing, and mixing the kit

Recording rock drums: tuning, mic'ing, and mixing techniques[This article was written by Adam “Nolly” Getgood, recording engineer, producer, and bass player in the band Periphery. To hear more recording tips from Adam, check out his free class online, broadcasting August 26-27.]

Recording drums is arguably the most difficult part of a session for an engineer working in modern rock genres. With upwards of 12 microphones on the kit itself as well as capturing the room ambience (often closer to 20, or more!),  there are many chances to slip up and ruin a recording, but there are also so many ways to really fine-tune the sound – and that is where the joy of engineering comes from, for me at least!

Tuning the kit

Tuning a drum kit can be a very mysterious process for a beginner, but with some practice you can get to grips with the concepts quite quickly. I’d recommend borrowing or buying a halfway decent kit and some heads to experiment with.

There are myriad ways to skin the kit (ba-dum-TISH…) when it comes to tuning drums, but my experience is that drums record extremely well when the resonant heads are tuned higher in pitch than the batter heads. On the toms and kick, the slacker batter head will give a pleasing “slap” to the attack, while the tighter resonant head will prevent the drum from sounding  “flabby” and minimize pitch bend. On the snare, keeping the resonant head tuned tight will get a crisp and responsive response from the snare wires, and elicit a lovely “poppy” attack when you hit  the drum with some attitude.

Moon gel and other muffling devices can be a lifesaver in the studio for shortening the sustain of drums that are too resonant and washing over the sound of the other drums, but try to get the tuning of the drums perfected before applying these devices – they’re not Band-Aids for bad tuning!

One of the best tips I can give you is to use a pitch reference to be able to recall what notes the heads are tuned to on a given drum once you’ve found the sound you’re after. Not only will this greatly cut down on guesswork in the future, it will also enable you to touch-up the tuning of the kit you’re recording when you take breaks, so that your drum sounds are perfectly consistent through a session. There’s nothing worse than hearing obvious pitch changes in the snare and toms when you punch-in parts!

If you don’t feel confident tuning drums, hire a drum tech for your recording session – a good drum tech will quickly be able to get a kit sounding its best and keep it that way through a session, so you can focus on capturing the perfect performances.

Mic’ing the kit

This is an almost infinite topic, and every engineer will have their preferences – often contradictory!

My approach is to try to isolate the shells from the cymbals as much as I can, something the drummer has to help with too by not smashing his cymbals as hard as he can.  In general I like to get the mics up close to the heads of the drums I am micing, not just for the isolation, but also to take advantage of the natural proximity effect (the low end enhancement that occurs when you place a mic close to the source – some mics are more subject to this than others). I like to use super-cardioid mics on the snare drum especially, since the narrower pickup pattern and null positions allow me to minimize the amount of hi-hat and other cymbals spilling into the snare signal, which typically can be an ugly issue once you start applying EQ and compression later on during mixing.

I’ve tried every overhead micing technique under the sun, and I always come back to the trusty spaced pair of cardioid condensers – when done correctly, the sound is fantastically wide and has a real sense of depth. My tip is to always make sure the two mics are equally spaced from the center of the snare head to ensure a really phase-coherent snare sound that sits exactly in the middle of the stereo field. I find that usually a distance of ~1.2m/4ft from the snare head to the mic capsule, and a spacing between mics of 3-4ft (depending on the size of the kit, and the desired stereo image width) gets an ideal balance of shells and cymbals. Often the hi-hat side mic will be a little higher and on the outer side of the cymbals, while the ride-side mic will be lower and more on the inner edge of the cymbals, over the top of the floor tom.

I always like to capture some of the room’s ambience while I’m tracking drums, to get a depth and airy decay to the drum sound without having to rely solely on a reverb unit in the mix. Every room is different, but I like to keep the mics fairly low to the ground if they’re close to the drums to highlight the drum shells and minimize cymbals. Experiment with putting baffles between the kit and the room mics to further reduce cymbal abrasiveness, and try placing mics outside the live room in reflective hallways or adjoining spaces for a really big, diffuse sound.

Phase is the bane of anyone engineering drums – whenever the same source can be heard coming through two or more microphones, you have to be sure that the signals aren’t cancelling out important information when they’re played back together. With so many mics pointed at the kit, and with drums and cymbals all leaking into every one of them, you have a potential nightmare on your hands. Monitor in mono and listen to pairs of mics in isolation, flipping the polarity of the signal on one mic at a time to hear whether they are working with or against each other. Ultimately you are always going to have some negative phase interactions occurring within a multi-mic’d drum sound, the key is to prioritize the most important pairings – the snare HAS to be working with the overheads if you want it to sound big and punchy, but I’m not going to sweat it if the spot mic on the splash cymbal isn’t quite in with the floor tom mic – the bleed from one to the other is going to be so minimal that in the context of the mix it will be inaudible, and once you’ve gated the tracks it will be non-existent.

Mixing the kit

It’s just the nature of the beast that no matter how amazing the source tones are, your raw recorded drum tracks are not going to sound like finished, commercial rock drum sounds. There is inevitably going to be a whole load of midrange mud clogging up your close-mic’d tracks, so it’s worthwhile using some EQ to dip out the worst offending “mud-zones,” while not being afraid of boosting up the top end frequencies in your drum tracks, to bring out air and clarity. For extra weight, zone in on the fundamental frequencies of each drum and reinforce them with careful EQ boosts, but don’t push these too far – moderation is key.

Compression will bring out the smack and sustain of your drums. Using a slower attack time and fast release settings on your compressor of choice will emphasize the impact of the drum – perfect for kick and snare channels; using a very fast attack will clamp down on the initial transient of the drum, squashing it down to give a rounder sound that focuses on the sustain – try that on toms for singing resonance, but be sure to use a gate or cut out the space between hits or else you’ll bring out a whole load of unwanted cymbal bleed.

Sending your drum tracks through a parallel bus of heavy-handed compression, then blending that in with the main drum sound is a great way to enhance your mix. Experiment with slow or fast attack settings to see what flavors you can get: as with before, the slower attack setting will give you a very punchy sound you can blend in for more smack, while a fast attack setting will provide you with a thick and smooth that you can blend to enhance the size and sustain of your drum sound.

Distortion and saturation can be a really fun world to explore when it comes to mixing drums too. Rock engineers have frequently been known to enjoy driving their preamps hard, or recording hot to tape to saturate the drum tracks they record, and while this can be done “on the way in,” you can also experiment with these sounds by running your drum tracks out from your DAW back through anything from mic preamps to guitar distortion pedals to achieve characterful and unique sounds.

—-

Author: Adam “Nolly” Getgood plays bass in Periphery, and spends his downtime in the studio engineering, producing, mixing and mastering for an exponentially increasing number of clients within the rock and metal world. With a modern and portable approach to music production that often challenges conventional wisdom, he has managed to craft a sound as progressive as the bands he records.

To learn even more of his studio secrets, tune into Periphery’s online class on CreativeLive, August 26-27 — sign up here to watch it FREE.
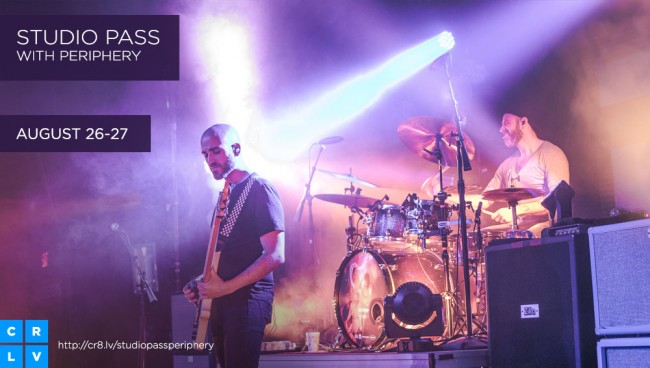
Studio Pass: Periphery

What are your best techniques for tuning, mic’ing, and mixing drums? Let us know in the comments below.

Free Updates: Become a 
Smarter Musician

[Photo of drum set from Shutterstock.]

The post Recording rock drums: pro tips for tuning, mic’ing, and mixing the kit appeared first on DIY Musician Blog.


Source: Musician Resources

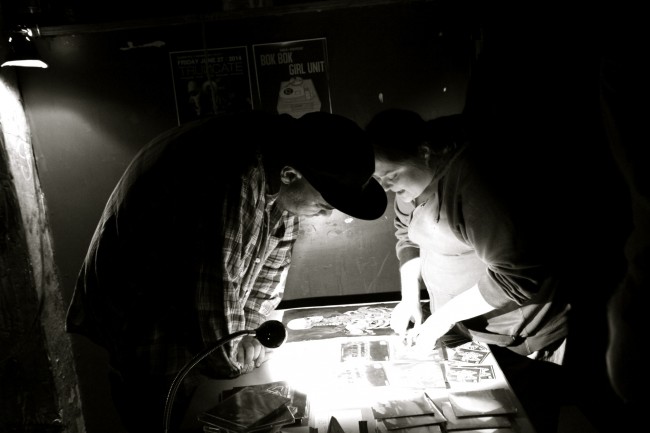
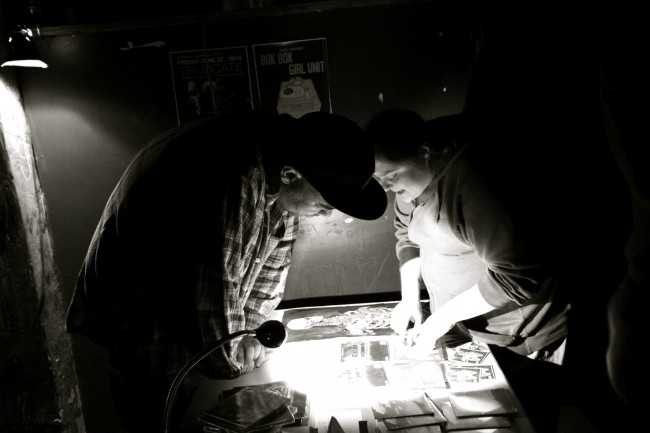
3 merch rules most musicians break

How to sell more merch at your showsOff stage? Get to the merch booth NOW!

Last month I took my daughter to her first rock show. We saw the band Dawes perform on the lawn of L.L. Bean’s flagship store.

I love Dawes. The lyrics. The tunes. The vocals. The playing. Love ’em. My daughter loves them too. And thanks to a friend we had front row seats (see below for some video).

Dawes isn’t, like, Beyoncé famous or anything, but I was still surprised to see a couple of the members — I think it was the singer and drummer — standing at their merch booth after the show with a line that must’ve been a hundred people long. It was tough to see through the crowd but I think they were chatting with fans and autographing posters and albums.

At that point, my daughter was more interested in the giant fish tank inside L.L. Bean, so we didn’t wait in line. An hour later, we left the store and walked past the merch booth. The band was gone. The crowd was gone. But there were still a couple people working the booth, just in case someone (like me) wanted to make a last-minute purchase.

Why WOULDN’T artists always be standing at the merch booth?

I shouldn’t have been all that surprised the band was out there meeting fans right after the concert. Making time to show your appreciation and giving fans a deeper sense of connection to your art — that’s what many music careers are built on today. And thinking purely about the economics, that’s what moves merch too.

But a lot of us musicians still cling (through habit or through some strange longing) to the old notions about pop stars and rock stars. They’re supposed to be inaccessible. They’re supposed to hide backstage. They’re supposed to be divas, disfunctional jerks, or worse. What nonsense.

Unfortunately, that nonsense has woven itself deep into the psyche of many modern musicians, musicians who then feel like they should get a pass when it comes to interacting with fans. They fail at this crucial step in building a music career, either because they think it’s beneath them, because they forget it’s important, because they think there should be some wall of separation between pure art and icky commerce, or because they’re uncomfortable in such interactions (which is understandable for shy artists, but just like your music — practice, practice, practice).

Anyway, all of this reminded me of some great advice Carlos Castillo gave earlier this year regarding your merch booth.

Here are three merch rules that get broken far more often than they’re followed…

… but they can make a big difference in sales, email signups, and establishing a connection with fans:

1. Have someone stationed at the table during the show. Placing an honor-system bucket on the table while you’re on stage is not nearly as effective as having an actual person there who is motivated to sell. A cut of the profits is a great way to motivate someone. Don’t take advantage of your friend’s kindness to run your table for free. Cut them in and you’ll feel the results in your wallet. Pay your money-maker. Don’t treat them the way crappy promoters treat you.

2. When you’re not on stage, be at the booth. Make sure that is the area to party with the band. Not backstage. You don’t make money there. Backstage is where you get swarmed by groupies that drink your beer and distract you from the show. If you bring that party up front, some of those groupies will probably leave with t-shirts and CDs instead of (insert dirty groupie joke here).

3. The merch table should be the last thing you tear down. Not only do people hate carrying stuff around all night, it’s at the end of the night that they cash out at the bar and have their credit cards in hand. PS: Accept credit cards.

Dawes did all three of these things well (and they sing real pretty too). Yeah, yeah, they also tour in a giant bus and can pay someone to handle the merch — but local and regional acts can benefit from following these rules too. Try it out at your next few shows and see for yourself if it makes a difference.

Psyched to be front row at L.L. Bean to hear @DawesTheBand slaying the three-part harmonies.

A video posted by Chris Robley (@chrisrobley) on Jul 25, 2015 at 8:06pm PDT

Check out some more great merch tips in our article “A Musician’s guide to merch: how to sell more CDs, t-shirts, and more at your next show.”

Creating Effective Facebook Events

How to spread the word 
about your music: 
online marketing tips to help you connect with fans and sell more music.

Free Guide: Book Your Own Successful Tour

The post 3 merch rules most musicians break appeared first on DIY Musician Blog.


Source: Musician Resources

Live performance tip: plan for disaster (so you can turn it into the highlight of the show)

Live performance emergencies

What was your biggest mid-show emergency, and how did you deal?

I went to a wedding this weekend and danced for hours to the music of Funktapuss, a super fun funk band from Hyannis, Massachusetts.

They were great players, but what impressed me most was what they did when things took a turn for the potentially disastrous.

Let me paint the scene: outdoor wedding under a tent, summer humidity, open bar, a single extension cord running from the stage to a barn. As the band ramped up and the dance floor was bouncing, BAM, the lights go out. The amps go silent. The PA peters out. The guests inhaled and paused.

I’m not sure if an inebriated guest stumbled over the the cord, or the venue blew a fuse, or what — but here’s what amazed me: after the power went out, the energy actually got turned up a notch (much to our relief).

The drummer kept playing. The trumpet player stepped right into the middle of the crowd and blew a solo. The keyboardist picked up his saxophone and joined in. The singer led us all in a funky chant. We danced and danced and danced for what must’ve been about five minutes of ecstatic, spontaneous, non-amplified funk (while the guitarists took a beer or bathroom break).

When the power came back on, the musicians slowly made their way back to the stage while keeping the improvisational energy going, and once everyone was ready, they launched right back into the song they’d been playing previously.

This got me thinking about live contingency plans. I suppose it’s a contradiction in terms to “plan for the unexpected,” but still, it’s worth putting some time into thinking about what you’d do in different unfortunate situations on stage.

Ask yourself (or your band) the following:

What do we do when someone breaks a string?

What do we do when the power goes out?

What do we do when we have to play longer than expected?

What do we do when an individual member doesn’t show up, or their equipment fails?

What do we do if the venue only has one vocal microphone?

Whether you jam out un-amplified, come to the edge of the stage and sing a cappella, take a minute to introduce the band, or start reciting spoken word (I’ve seen all of these work in action), it will benefit you to brainstorm some solutions in advance. In fact, when you’ve got a performance solution ready, you can turn what might’ve been a buzzkill into the most memorable moment of the night.

Have you averted disaster on stage? How? Was your solution planned, or totally spontaneous? I’d love to hear your story in the comments below.

Free Guide: Book Your Own Successful Tour

Free Updates: 
Get Music Promotion Tips and Exclusive Offers Delivered to Your Inbox

[Electrical cord picture from Shutterstock.]

The post Live performance tip: plan for disaster (so you can turn it into the highlight of the show) appeared first on DIY Musician Blog.


Source: Musician Resources